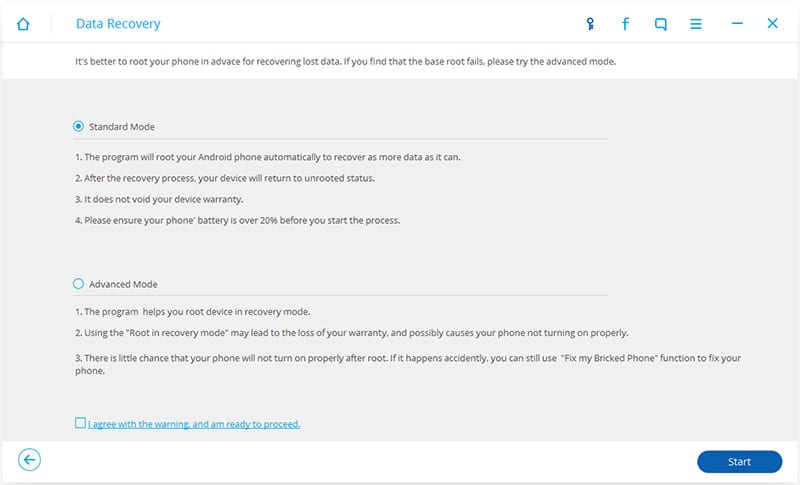
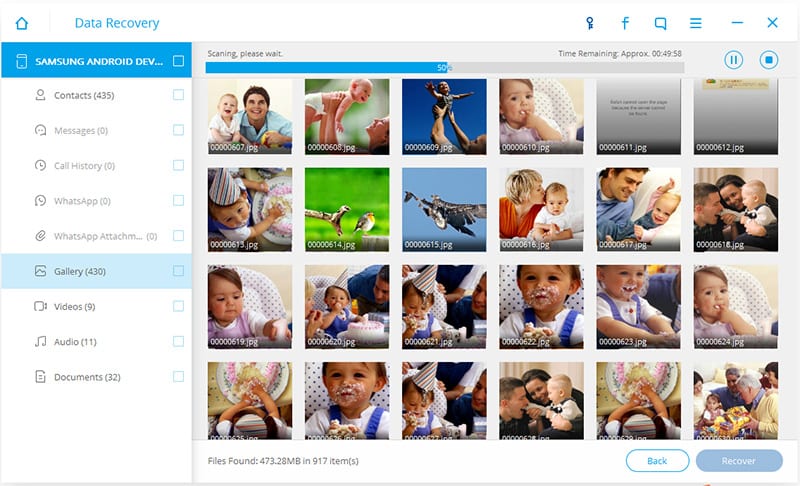
the tutorial looks like that :
Introduction
1. Welcome to the basic NETBIOS document created by aCId_rAIn. This document will teach you some simple things about NETBIOS, what it does, how to use it, how to hack with it, and some other simple DOS commands that will be useful to you in the future. THIS DOCUMENT IS FOR NEWBIEZ ONLY!!! If you are NOT a newbie then don't go any farther reading this because if you're smart enough you probably already know it all. So don't waste yourt time reading something that you already know.
1. Hardware and Firmware
1a. The BIOS
The BIOS, short for Basic Input/Output Services, is the control program of the PC. It is responsible for starting up your computer, transferring control of the system to your operating system, and for handling other low-level functions, such as disk access.
NOTE that the BIOS is not a software program, insofar as it is not purged from memory when you turn off the computer. It's
firmware, which is basically software on a chip.

A convenient little feature that most BIOS manufacturers include is a startup password. This prevents access to the system until you enter the correct password.
If you can get access to the system after the password has been entered, then there are numerous software-based BIOS password extractors available from your local H/P/A/V site.
NETBIOS/NBTSTAT - What does it do?
2. NETBIOS, also known as NBTSTAT is a program run on the Windows system and is used for identifying a remote network or computer for file sharing enabled. We can expoit systems using this method. It may be old but on home pc's sometimes it still works great. You can use it on your friend at home or something. I don't care what you do, but remember, that you are reading this document because you want to learn. So I am going to teach you. Ok. So, you ask, "How do i get to NBTSTAT?" Well, there are two ways, but one's faster.
Method 1:Start>Programs>MSDOS PROMPT>Type NBTSTAT
Method 2:Start>Run>Type Command>Type NBTSTAT
(Note: Please, help your poor soul if that isn't like feeding you with a baby spoon.)
Ok! Now since you're in the DOS command under NBTSTAT, you're probably wondering what all that crap is that's on your screen. These are the commands you may use. I'm only going to give you what you need to know since you are striving to be l33t. Your screen should look like the following:
NBTSTAT [ [-a RemoteName] [-A IP address] [-c] [-n]
[-r] [-R] [-RR] [-s] [-S] [interval] ]
-a (adapter status) Lists the remote machine's name table given its name
-A (Adapter status) Lists the remote machine's name table given its IP address.
-c (cache) Lists NBT's cache of remote [machine] names and their IP addresses
-n (names) Lists local NetBIOS names.
-r (resolved) Lists names resolved by broadcast and via WINS
-R (Reload) Purges and reloads the remote cache name table
-S (Sessions) Lists sessions table with the destination IP addresses
-s (sessions) Lists sessions table converting destination IP addresses to computer NETBIOS names.
-RR (ReleaseRefresh) Sends Name Release packets to WINS and then, starts Refresh
RemoteName Remote host machine name.
IP address Dotted decimal representation of the IP address.
interval Redisplays selected statistics, pausing interval seconds between each display. Press Ctrl+C to stop redisplaying
statistics.
C:\WINDOWS\DESKTOP>
The only two commands that are going to be used and here they are:
-a (adapter status) Lists the remote machine's name table given its name
-A (Adapter status) Lists the remote machine's name table given its IP address.
Host Names
3. Now, the -a means that you will type in the HOST NAME of the person's computer that you are trying to access. Just in case you don't have any idea what a Host Name looks like here's an example.
123-fgh-ppp.internet.com
there are many variations of these adresses. For each different address you see there is a new ISP assigned to that computer. look at the difference.
abc-123.internet.com
ghj-789.newnet.com
these are differnet host names as you can see, and, by identifying the last couple words you will be able to tell that these are two computers on two different ISPs. Now, here are two host names on the same ISP but a different located server.
123-fgh-ppp.internet.com
567-cde-ppp.internet.com
IP Addresses
4. You can resolce these host names if you want to the IP address (Internet Protocol)
IP addresses range in different numbers. An IP looks like this:
201.123.101.123
Most times you can tell if a computer is running on a cable connection because of the IP address's numbers. On faster connections, usually the first two numbers are low. here's a cable connection IP.
24.18.18.10
on dialup connections IP's are higher, like this:
208.148.255.255
notice the 208 is higher than the 24 which is the cable connection.
REMEMBER THOUGH, NOT ALL IP ADDRESSES WILL BE LIKE THIS.
Some companies make IP addresses like this to fool the hacker into believing it's a dialup, as a hacker would expect something big, like a T3 or an OC-18. Anyway This gives you an idea on IP addresses which you will be using on the nbtstat command.
Getting The IP Through DC (Direct Connection)
5. First. You're going to need to find his IP or host name. Either will work. If you are on mIRC You can get it by typing /whois (nick) ...where (nick) is the persons nickname without parenthesis. you will either get a host name or an IP. copy it down. If you do not get it or you are not using mIRC then you must direct connect to their computer or you may use a sniffer to figure out his IP or host name. It's actually better to do it without the sniffer because most sniffers do not work now-a-days. So you want to establish a direct connection to their computer. OK, what is a direct connection? When you are:
Sending a file to their computer you are directly connected.
AOL INSTANT MESSENGER allows a Direct Connection to the user if accepted.
ICQ when sending a file or a chat request acception allows a direct connection.
Any time you are sending a file. You are directly connected. (Assuming you know the user is not using a proxy server.)
Voice Chatting on Yahoo establishes a direct connection.
If you have none of these programs, either i suggest you get one, get a sniffer, or read this next statement.
If you have any way of sending thema link to your site that enables site traffic statistics, and you can log in, send a link to your site, then check the stats and get the IP of the last visitor. It's a simple and easy method i use. It even fool some smarter hackers, because it catches them off guard. Anyway, once you are directly
connected use either of the two methods i showed you earlier and get into DOS. Type NETSTAT -n. NETSTAT is a program that's name is short for NET STATISTICS. It will show you all computers connected to yours. (This is also helpful if you think you are being hacked by a trojan horse and is on a port that you know such as Sub Seven: 27374.) Your screen should look like this showing the connections to your computer:
------------------------------------------------------------------------------------------------
C:\WINDOWS\DESKTOP>netstat -n
Active Connections
Proto Local Address Foreign Address State
TCP 172.255.255.82:1027 205.188.68.46:13784 ESTABLISHED
TCP 172.255.255.82:1036 205.188.44.3:5190 ESTABLISHED
TCP 172.255.255.82:1621 24.131.30.75:66 CLOSE_WAIT
TCP 172.255.255.82:1413 205.188.8.7:26778 ESTABLISHED
TCP 172.255.255.82:1483 64.4.13.209:1863 ESTABLISHED
C:\WINDOWS\DESKTOP>
------------------------------------------------------------------------------------------------
The first line indicated the Protocol (language) that is being used by the two computers.
TCP (Transfer Control Protocol) is being used in this and is most widely used.
Local address shows your IP address, or the IP address of the system you on.
Foreign address shows the address of the computer connected to yours.
State tells you what kind of connection is being made ESTABLISHED - means it will stay connected to you as long as you are on the program or as long as the computer is allowing or is needing the other computers connection to it. CLOSE_WAIT means the connection closes at times and waits until it is needed or you resume connection to be made again. One that isn't on the list is TIME_WAIT which means it is timed. Most Ads that run on AOL are using TIME_WAIT states.
the way you know the person is directly connected to your computer is because of this:
------------------------------------------------------------------------------------------------
C:\WINDOWS\DESKTOP>netstat -n
Active Connections
Proto Local Address Foreign Address State
TCP 172.255.255.82:1027 205.188.68.46:13784 ESTABLISHED
TCP 172.255.255.82:1036 205.188.44.3:5190 ESTABLISHED
TCP 172.255.255.82:1621 24.131.30.75:66 CLOSE_WAIT
TCP 172.255.255.82:1413 abc-123-ppp.webnet.com ESTABLISHED
TCP 172.255.255.82:1483 64.4.13.209:1863 ESTABLISHED
C:\WINDOWS\DESKTOP>
------------------------------------------------------------------------------------------------
Notice the host name is included in the fourth line instead of the IP address on all. This is almost ALWAYS, the other computer that is connected to you. So here, now, you have the host name:
abc-123-ppp.webnet.com
If the host name is not listed and the IP is then it NO PROBLEM because either one works exactly the same. I am using abc-123-ppp.webnet.com host name as an example. Ok so now you have the IP and/or host name of the remote system you want to connect to. Time to hack!
Open up your DOS command. Open up NBTSTAT by typing NBTSTAT. Ok, there's the crap again. Well, now time to try out what you have leanred from this document by testing it on the IP and/or host name of the remote system. Here's the only thing you'll need to know.
IMPORTANT, READ NOW!!!
-a (adapter status) Lists the remote machine's name table given its name
-A (Adapter status) Lists the remote machine's name table given its IP address.
Remember this?
Time to use it.
-a will be the host name
-A will be the IP
How do i know this?
Read the Statements following the -a -A commands. It tells you there what each command takes.
So have you found which one you have to use?
GOOD!
Time to start.
Using it to your advantage
6. Type this if you have the host name only.
NBTSTAT -a (In here put in hostname without parenthesis)
Type this is you have the IP address only.
NBTSTAT -A (In here put in IP address without parenthesis)
Now, hit enter and wait. Now Either one of two things came up
1. Host not found
2. Something that looks like this:
--------------------------------------------
NetBIOS Local Name Table
Name Type Status
---------------------------------------------
GMVPS01 <00> UNIQUE Registered
WORKGROUP <00> GROUP Registered
GMVPS01 <03> UNIQUE Registered
GMVPS01 <20> UNIQUE Registered
WORKGROUP <1e> GROUP Registered
---------------------------------------------
If the computer responded "Host not found" Then either one of two things are the case:
1. You screwed up the host name.
2. The host is not hackable.
If number one is the case you're in great luck. If two, This system isn't hackable using the NBTSTAT command. So try another system.
If you got the table as above to come up, look at it carefully as i describe to you each part and its purpose.
Name - states the share name of that certain part of the computer
<00>, <03>, <20>, <1e> - Are the Hexidecimal codes giving you the services available on that share name.
Type - Is self-explanatory. It's either turned on, or activated by you, or always on.
Status - Simply states that the share name is working and is activated.
Look above and look for the following line:
GMVPS01 <20> UNIQUE Registered
See it?
GOOD! Now this is important so listen up. The Hexidecimanl code of <20> means that file sharing is enabled on the share name that is on that line with the hex number. So that means GMVPS01 has file sharing enabled. So now you want to hack this. Here's How to do it. (This is the hard part)
LMHOST File
7. There is a file in all Windows systems called LMHOST.sam. We need to simply add the IP into the LMHOST file because LMHOST basically acts as a network, automatically logging you on to it. So go to Start, Find, FIles or Folders. Type in LMHOST and hit enter. when it comes up open it using a text program such as wordpad, but make sure you do not leave the checkmark to "always open files with this extension" on that. Simply go through the LMHOST file until you see the part:
# This file is compatible with Microsoft LAN Manager 2.x TCP/IP lmhosts
# files and offers the following extensions:
#
# #PRE
# #DOM:
# #INCLUDE
# #BEGIN_ALTERNATE
# #END_ALTERNATE
# \0xnn (non-printing character support)
#
# Following any entry in the file with the characters "#PRE" will cause
# the entry to be preloaded into the name cache. By default, entries are
# not preloaded, but are parsed only after dynamic name resolution fails.
#
# Following an entry with the "#DOM:" tag will associate the
# entry with the domain specified by . This affects how the
# browser and logon services behave in TCP/IP environments. To preload
# the host name associated with #DOM entry, it is necessary to also add a
# #PRE to the line. The is always preloaded although it will not
# be shown when the name cache is viewed.
#
# Specifying "#INCLUDE " will force the RFC NetBIOS (NBT)
# software to seek the specified and parse it as if it were
# local. is generally a UNC-based name, allowing a
# centralized lmhosts file to be maintained on a server.
# It is ALWAYS necessary to provide a mapping for the IP address of the
# server prior to the #INCLUDE. This mapping must use the #PRE directive.
# In addtion the share "public" in the example below must be in the
# LanManServer list of "NullSessionShares" in order for client machines to
# be able to read the lmhosts file successfully. This key is under
# \machine\system\currentcontrolset\services\lanmans erver\parameters\nullsessionshares
# in the registry. Simply add "public" to the list found there.
#
# The #BEGIN_ and #END_ALTERNATE keywords allow multiple #INCLUDE
# statements to be grouped together. Any single successful include
# will cause the group to succeed.
#
# Finally, non-printing characters can be embedded in mappings by
# first surrounding the NetBIOS name in quotations, then using the
# \0xnn notation to specify a hex value for a non-printing character.
Read this over and over until you understand the way you want your connection to be set. Here's an example of how to add an IP the way I would do it:
#PRE #DOM:255.102.255.102 #INCLUDE
Pre will preload the connection as soon as you log on to the net. DOM is the domain or IP address of the host you are connecting to. INCLUDE will automaticall set you to that file path. In this case as soon as I log on to the net I will get access to 255.102.255.102 on the C:/ drive. The only problem with this is that by doin the NETSTAT command while you are connected, and get the IP of your machine. That's why it only works on simple PC machines. Because people in these days are computer illiterate and have no idea of what these commands can do. They have no idea what NETSTAT is, so you can use that to your advantage. Most PC systems are kind of hard to hack using this method now because they are more secure and can tell when another system is trying to gain access. Also, besure that you (somehow) know whether they are running a firewall or not because it will block the connection to their computer. Most home systems aren't running a firewall, and to make it better, they don't know how operate the firewall, therefore, leaving the hole in the system. To help you out some, it would be a great idea to pick up on some programming languages to show you how the computer reads information and learn some things on TCP/IP (Transfer Control Protocol/Internet Protocol) If you want to find out whether they are running a firewall, simply hop on a Proxy and do a port scan on their IP. You will notice if they are running a firewall because most ports are closed. Either way, you still have a better chance of hacking a home system than hacking Microsoft.
Gaining Access
7. Once you have added this to you LMHOST file. You are basically done. All you need to do is go to:
Start
Find
Computer
Once you get there you simply type the IP address or the host name of the system. When it comes up, simply double click it, and boom! There's a GUI for you so you don't have to use DOS anymore. You can use DOS to do it, but it's more simple and fun this way, so that's the only way i put it. When you open the system you can edit, delete, rename, do anything to any file you wish. I would also delete the command file in C:/ because they may use it if they think someone is in their computer. Or simply delete the shortcut to it. Then here's when the programming comes in handy. Instead of using the NBTSTAT method all the time, you can then program you own trojan on your OWN port number and upload it to the system. Then you will have easier access and you will also have a better GUI, with more features. DO NOT allow more than one connection to the system unless they are on a faster connection. If you are downloading something from their computer and they don't know it and their connection is being slow, they may check their NETSTAT to see what is connected, which will show your IP and make them suspicious. Thats it. All there is to it. Now go out and scan a network or something and find a computer with port 21 or something open.